Gravel driveways are a very popular option as they are good for drainage, easy to lay and quite cheap too.
Most people will be able to lay their own gravel driveway, all you need to do is follow these simple instructions and you could have the perfect drive within a day or two.
However, this task can be quite heavy and take a lot of stamina so do consider asking a builder to step in if you feel that you won’t be strong enough to complete the job.
There are steps involved in laying a driveway from choosing your gravel type to finally spreading it on top of your chosen subbase.
We would recommend that you read through all the instructions before you buy any materials or equipment so that you have everything you need when you start.
Choosing Your Gravel
Most gravel types will work on your driveway but you should try to make sure that whatever you select does not come in too uniform a size as this may cause the gravel to sink faster. Shingle may also work well as a cheaper, though it tends to come in fewer types.
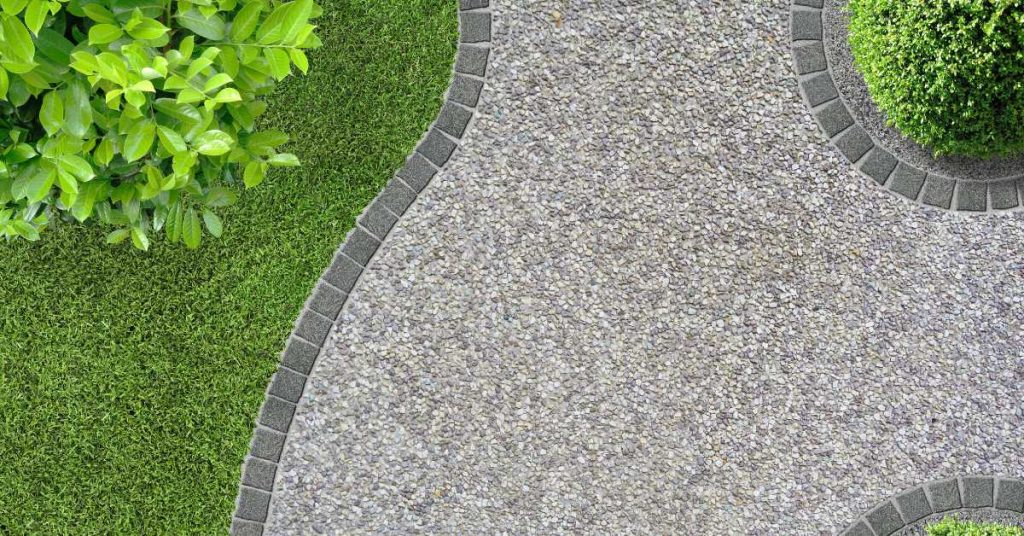
When choosing your gravel, do consider what you would like the overall look of your driveway to be, taking into account texture and colour. For example, small dark chips of slate can look very effective in a small space, but on a larger driveway, a lighter stone might be more welcoming.
Ideally, you will choose a size of gravel that is around 20mm. This size is perfect for driveways because it won’t get stuck in your car tyres as smaller 10mm or 6mm gravel might. It will also detract your friendly neighbourhood cat from assuming that you have made this gravel path specifically for their personal use!
Gravel that is larger than 20mm should also be avoided as this can be more difficult to walk on. The only exception here is slate which is much flatter and therefore is easier to walk on anyway.
Excavation
For the vast majority of driveways, some excavation will be necessary.
Before you begin
Make sure that you know where all the buried utilities are under your driveway including water, gas, electricity, phone, sewage and drainage.
Many of these services will have a tape buried just above them to forewarn you, but if you live in an older property this may not be the case.
Needless to say, cutting through any of these services is at best going to be a big set back in your works!
Removing the topsoil
To ensure that your gravel path is well supported, you should at least remove all the topsoil as this will provide a poor foundation and you will waste a lot of gravel as it will simply sink if you don’t remove it.
Ideally, you will remove between 50 – 300mm of topsoil depending on how much there is and how large an area you are planning to cover.
If you have uneven ground, you may wish to use this time to level it out so that you can refill evenly with your subbase.
Laying a Geotextile Membrane
The next step is to lay your geotextile membrane. You can use either a woven or non-woven form of geotextile membrane, the main point of this layer is to separate your subbase material from the ground below while still allowing water to move between the two.
This layer is most essential where the ground is poor quality, but don’t be tempted to skip this step, even if your ground is good.
Adding a Subbase
The subbase is the most important part of your driveway construction as it is the weight bearing material that will spread the load of any traffic moving along the gravel.
This will help to avoid any channels being formed by cars as they park and will make parking much easier.
What depth of subbase should you use?
In general, you should aim to lay between 100 and 150mm of subbase material in order to hold the weight of cars. If you plan to park anything heavier such as a campervan, you may need to add more subbase.
Which type of subbase should you use?
There are a few different types of subbase that you can choose from. The most common types used for gravel driveways are DT Type 1 and DT Type 3.
Both of these are made using crushed rock, but DT Type 3 comes with lower fines content making it more permeable to water and therefore better for drainage.
If you live in an area that is prone to flooding or sees a large amount of rainfall, then DT Type 3 is most likely to be the best option for your driveway.
How to lay the subbase
The subbase layer should be spread evenly in thin layers that are compacted using a vibrating roller or whacker plate.
This will ensure that the layer is fully compacted and is able to withstand the weight of your car without forming any channels.
Spreading the Gravel on Top
Once you are happy that you have a thick enough, well-compacted layer of subbase, you can start pouring your gravel onto the driveway.
This layer should only be the very top of your driveway and form the surface, so laying a depth of 50mm should be more than substantial.
At this depth, the gravel should fully hide the subbase layer but channels won’t form when you drive on the surface.
Lay the gravel by emptying the bags around the driveway, evenly spaced apart. Then, using a rake spread the gravel carefully to create a nice even level.
While you don’t need to have a perfectly flat driveway – it is gravel after all – do take time to ensure that the subbase is fully covered and there aren’t any remaining piles of gravel left.
While laying a gravel driveway is certainly a hefty task, when you look back at what you have achieved, it will be well worth all the effort you have put in.
Are you based in Essex and in need of aggregates? Then, give TJC Transport a call today!